Make your own compost bin in your backyard. Compost bin plans and designs for turning yard debris and kitchen scraps into homemade fertilizer!
Turn some of your kitchen scraps and yard debris turns to gold for the garden. Make your own compost bin and turn yesterday's trash into tomorrow's vegetable gardening delights. Building a compost bin in your backyard is an easy way to contain decomposing organic matter which can help transform less than fertile soil into a virtual oasis. Although, there are many types of composting bins, our main focus will be using easy plans to make your own compost bin.
Compost Bin Plans and Ideas
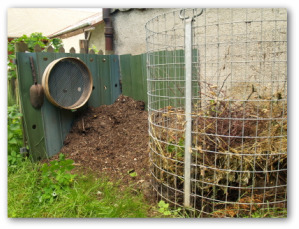
Basic Wire Compost Bin Design
Wire compost bin designs do not produce compost as rapidly as solid walled design but it is a quick and inexpensive way to get the natural process started. The instructions below will help you make your own compost bin that contains nearly a cubic yard of material.The following directions are for a bin around 4 feet high and 3 foot in diameter. A gardening space of about 8x4 feet is required to house this basic compost bin. This will allow ample room for raking and compost removal.
Necessary materials for assembly:
* If you need several bins made, it is cheaper to purchase a roll of wire.
Optional Wooden Posts
Posts provide stability for the bin but make it difficult to move. Before you make your own compost bin decide if want it movable or stabilized in one specific location. A wire bin made without posts will be easier to lift, move, and provide easy access to the bottom of the heap which decomposes faster.Maintaining your Wire Compost Bin
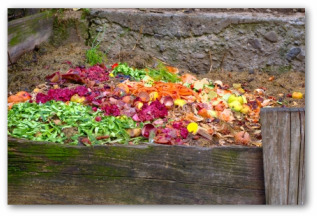
A wire compost bin allows good air circulation for decomposition. Pile your raked leaves, kitchen scraps, and lawn clippings into the compost bin. Layer "green" vegetable waste and grass trimmings with dried materials such as fallen leaves or wood chips.After six months to a year, your compost will be ready for the vegetable garden. Cut the wire fasteners to gain access to the compost. Remove the finished product with a spading fork. To re-make your own compost bin simply re-fasten the wire!
Vegetable Gardening Tip when Making a Wire Compost Bin:
Bear in mind when you make your own compost bin that galvanized wire will last longer than the non-galvanized type.
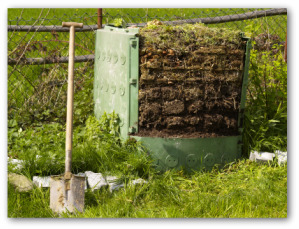
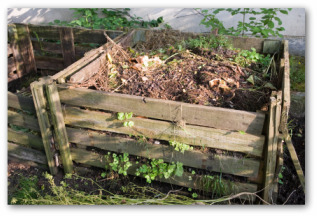
Wood Compost Bin
If you need larger stationary bins, make a compost bin using lumber. When choosing the wood, be certain it is not pressure-treated. You do not want the metals used to treat the wood leaching into your compost.Composting is a beneficial solution in both improving your vegetable garden and reducing household waste. Although there are ready made bins available, making your own compost bin is the cheapest way to go for the handy do-it-yourselfer!
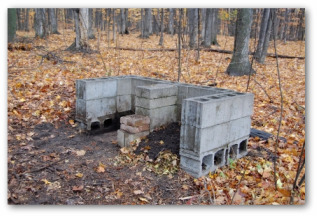
Make A Concrete Block Compost Bin
For more information on building a wood or concrete block compost bin, please click here.Keep the waste material moist for the decomposing process to continue. Plan on watering your compost bin at least once a week Water the top of the heap to adequately dampen several inches down. The outer portion of the cylinder insulates the inner part to help retain moisture.
These compost bin plans and ideas can help you create a simple and easy compost solution in your backyard!